You can easily back up everything on your iPhone by using iCloud or the Finder on your Mac. Nevertheless, there is a minor snag: what if you only want to back up the media files, such as images and videos? What if you wish to make a second copy available, or retain one in a separate location?
It can be accomplished in a simple fashion.
Afterwards, you can use the Picture Capture.
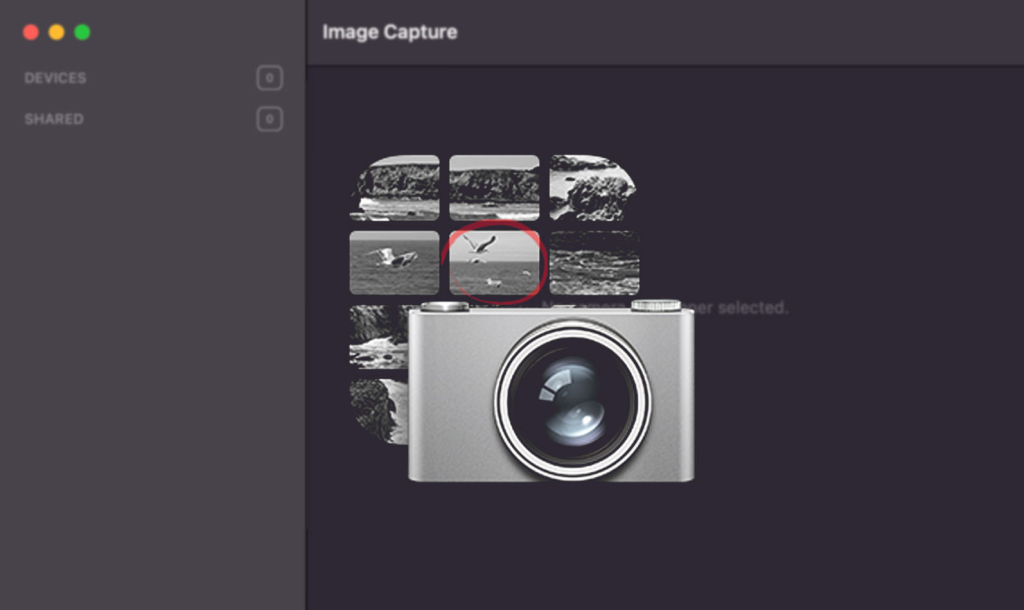
The built-in Mac OS X software called “Image Capture” is quite handy. You may use it to copy media from your iPhone, iPad, or iPod touch to your Mac, as well as any external devices you may have connected to your computer.
How to Backup with Image Capture
Instructions:
Hook up the cord from your gadget to the Mac.
The first step is to unlock your device and then to open the Picture Capture software on your Mac. If this is your first time doing so, you may be requested to choose “Trust” or “Trust this device” in response to a security question.
Then, Picture Capture will look through your device’s storage and bring up any and all photos and videos that match your search criteria.
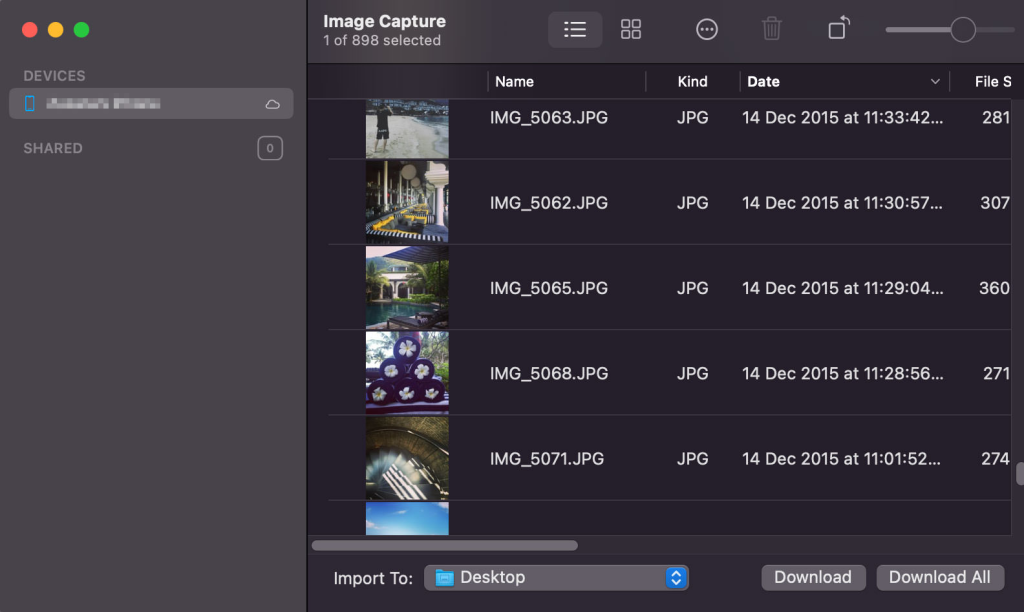
In Image Capture, Command + A to select all your photos/videos.
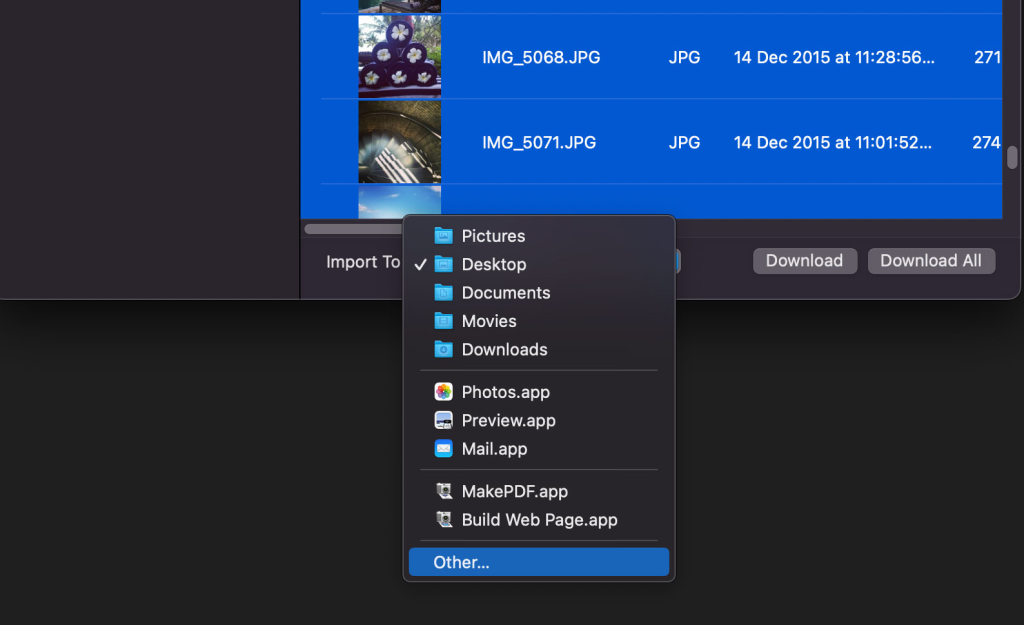
Go to “Import to:” and select the location to which you want them transferred. Select Other if you don’t see the desired location.
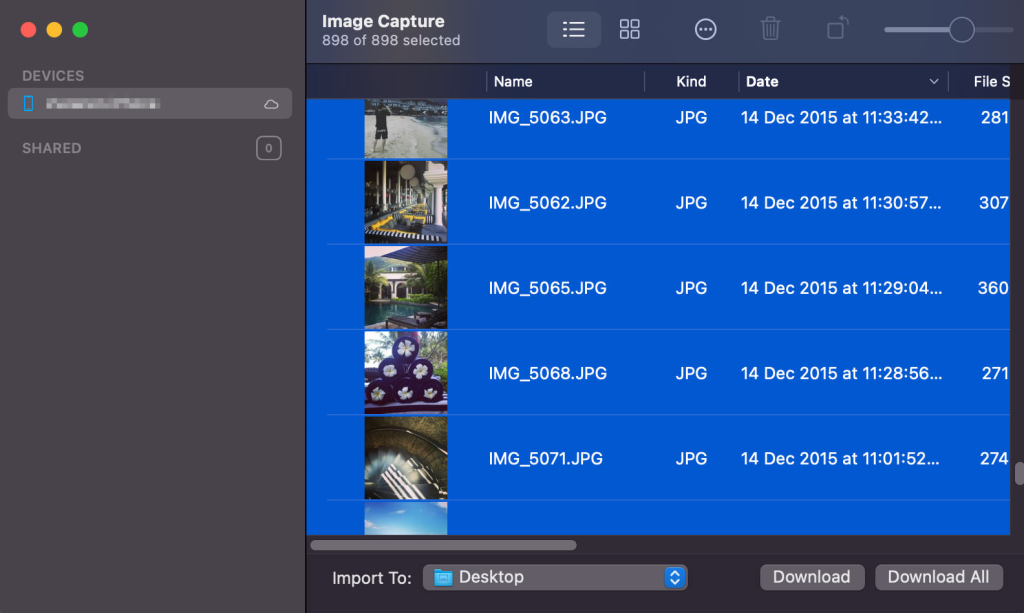
Click “Download All” to initiate the transfer.
It settles the matter. After selecting a destination, your device will begin downloading all of its photographs and movies. Now, depending on how many pictures and clips you have, this could take some time.
Last but not least, here are a few things you should know:
Any data you transfer to another device will not be deleted.
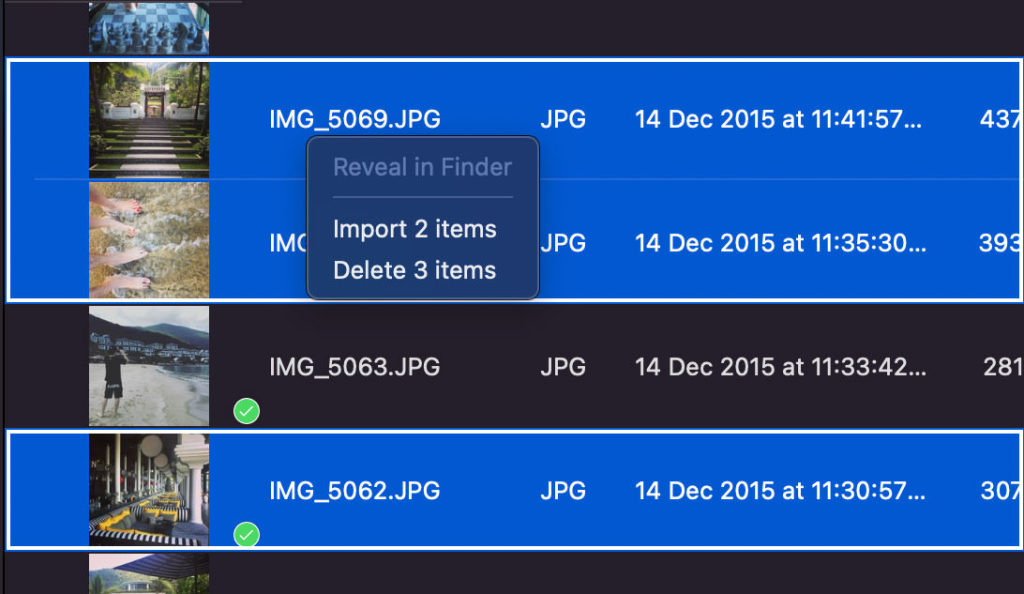
After a file is successfully downloaded or transmitted in Image Capture, a green checkmark will appear.

With Image Capture, you can also remove many media files at once. Choose the media files you wish to remove, then click the “Delete items” option in the context menu.